Objects
Objects are items that you can place in the viewport. Boards, shapes, texts, paths and graphics are objects. The following describes the different objects that you have available in bildigo, and how to get the most of them.
Boards
A Board is a layer typically used as a container for a design. Boards are useful if you want to design for a specific screen or print size. Boards can contain other boards. First level boards are shown by default at the View mode, acting as screens of a design or pages of a document. Also, objects inside boards can be clipped. Boards are a powerful element at bildigo, opening up a ton of possibilities when creating and organizing your designs.
Create boards
You can create a board using the board tool at the toolbar or the shortcut B.
Set a custom size or choose one of the provided presets with the most common resolution for devices and standard print sizes.
TIP: Create a board around one or more selected objects using the option "Selection to board" at the menu or the shortcut Ctrl/⌘ + Alt + G.
Select boards
There are two different cases in terms of selecting boards:
- For first level boards that have at least one inside, click on the board name or Ctrl/⌘ + click on the board area to select it and then drag
- For the rest (empty first level boards and inside boards) just click to select.
Set board as thumbnail
Select a specific board to be the file thumbnail that will be shown at the dashboard in the file card.
To set a custom thumbnail:
- Select a board.
- Right click to show the menu and select "Set as thumbnail" or press Shift T.
Clip content
Boards offer the option to clip its content (or not).
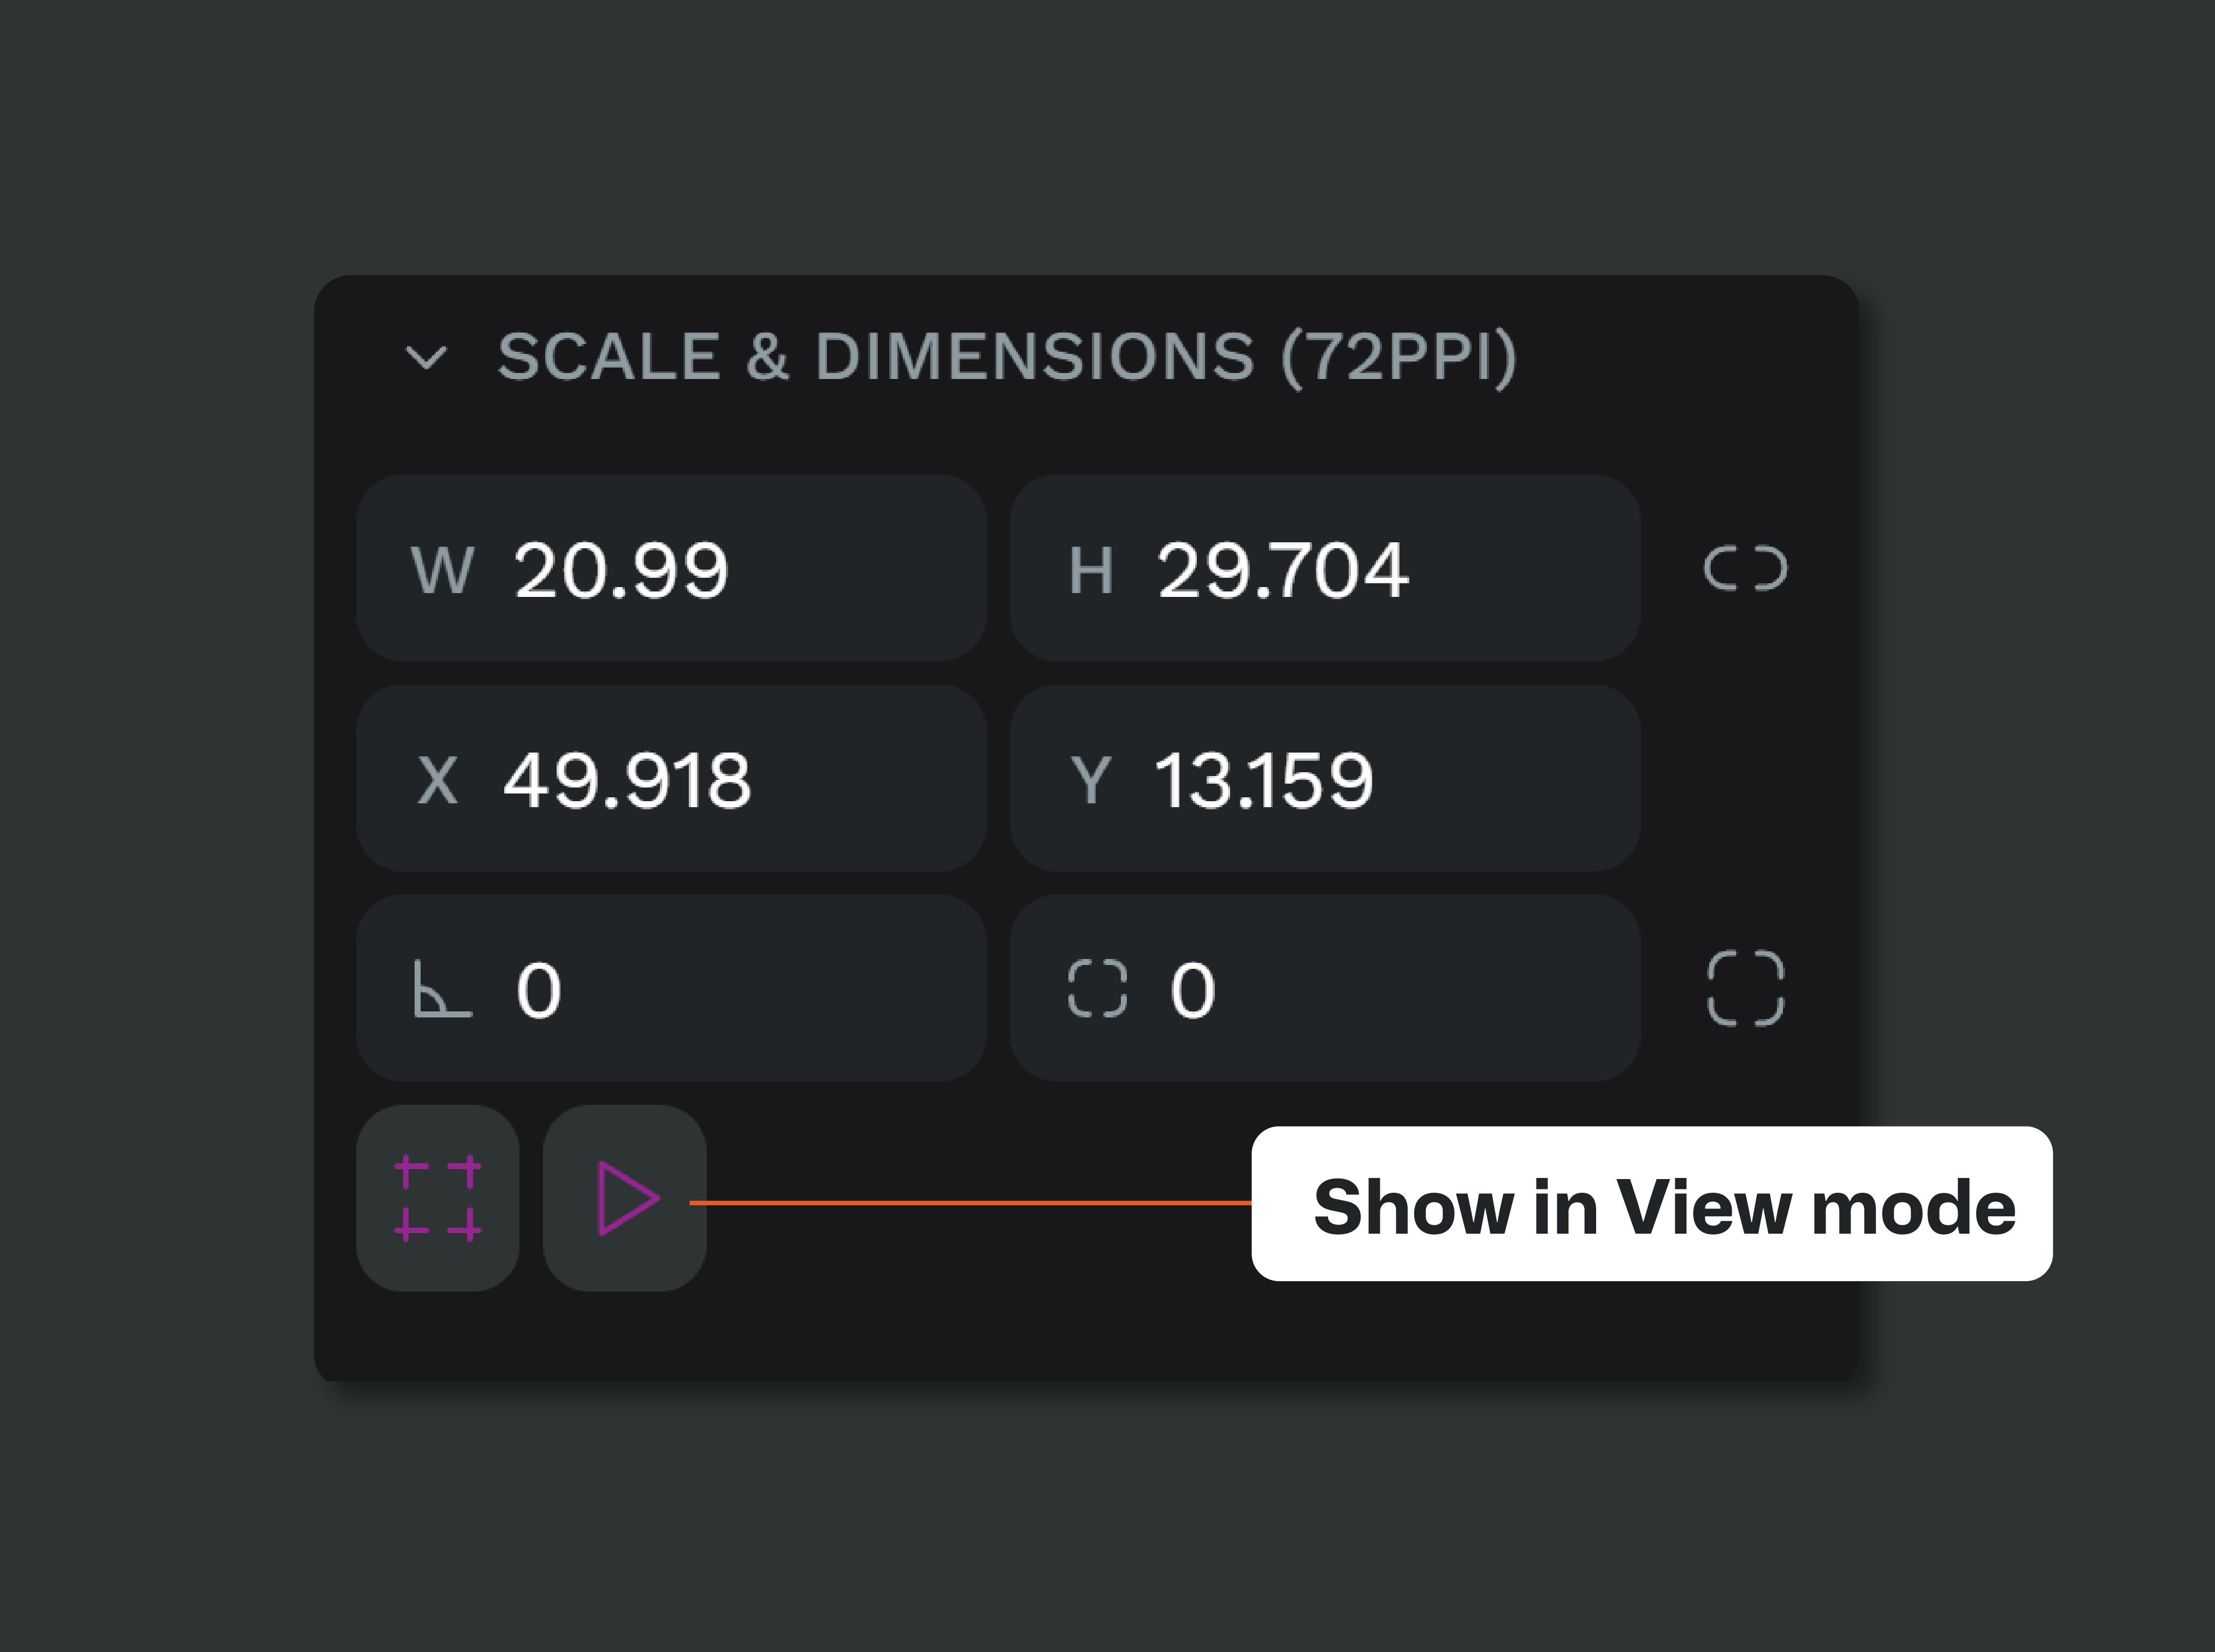
Show in View mode
Boards offer the option to be shown as a separate board/screen in the View mode. Use this setting to decide what boards should be shown as individual items in your presentations.
Defaults
As it is very likely that the first level boards will be used as a screen and the interiors will not, there are different defaults for newly created boards.
- Boards created at first level (the viewport): shown by default.
- Boards created inside other boards: not shown by default.
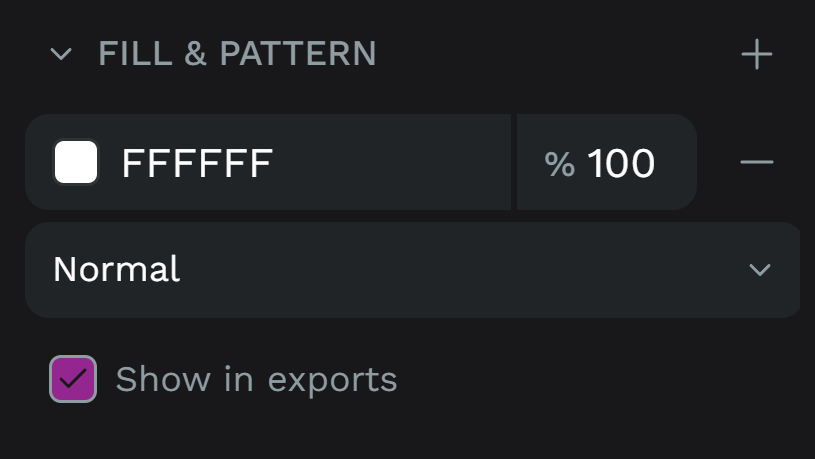
Show fill in exports
Sometimes you don’t need the artboards to be part of your designs, but only their support to work on them. bildigo allows you to decide if the fill of an artboard will be shown in exports, you just have to check/uncheck the "Show in exports" option which is below the fill setting.
Board guides
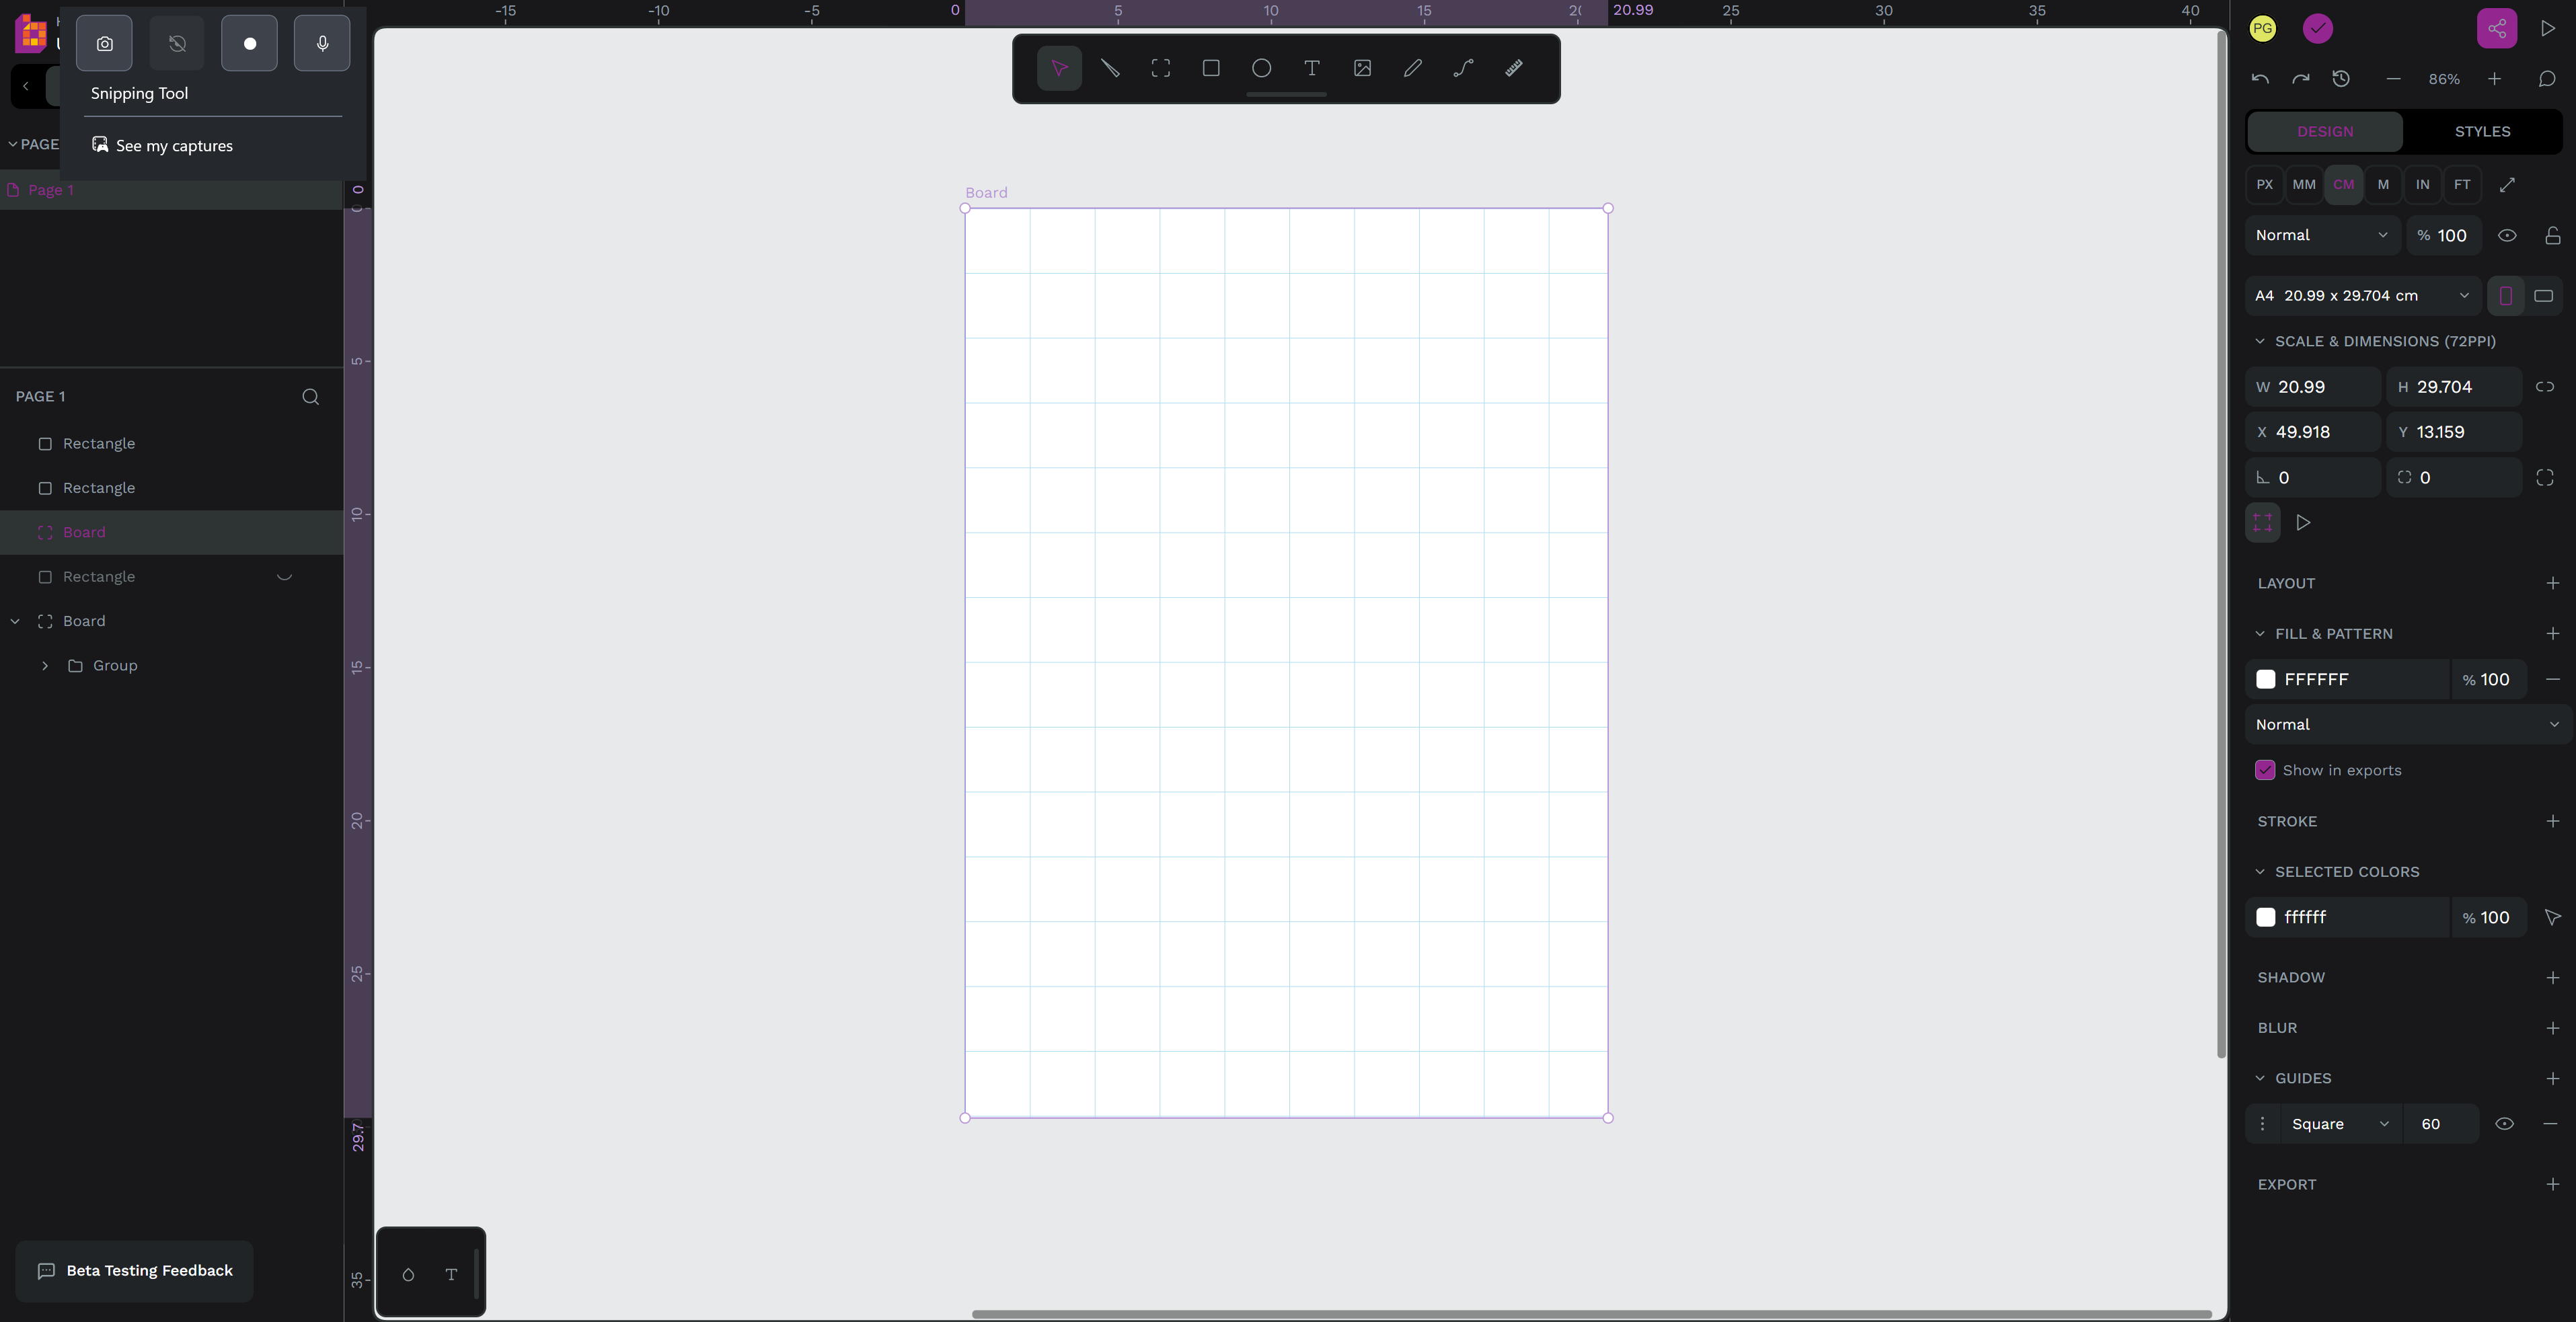
You can set guides on boards that will assist with aligning objects.
Read more about guides.
Rectangles and ellipses
Rectangle and ellipses are two basic “primitive” geometric shapes that are useful when starting a design.
The shortcut keys are E for ellipses and R for rectangles.
To find out more about how to edit and modify these shapes go to Layer basics.
Text
To insert text you have to activate the text tool by first clicking on the icon at the toolbar or pressing T. Then you have two ways to create a text layer:
- Click to create a textbox without any specific dimensions.
- Drag to create a textbox with a fixed size.
Edit and style text content
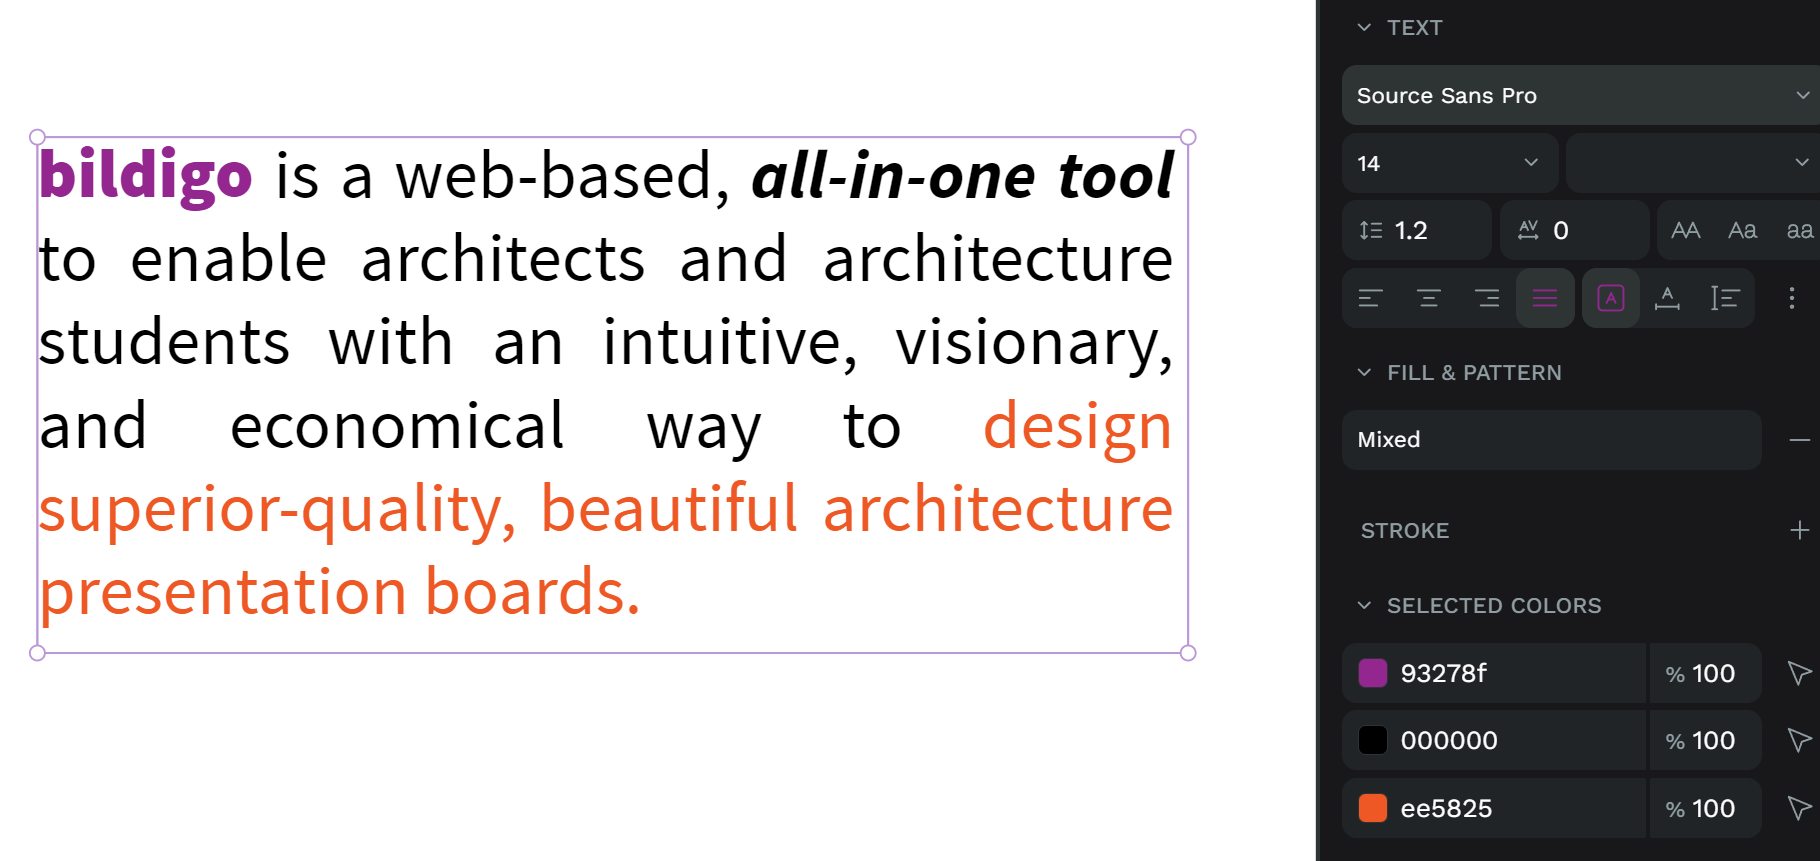
Press Enter with a text layer selected to start editing the text content. You can style parts of the text content as rich text.
Text options
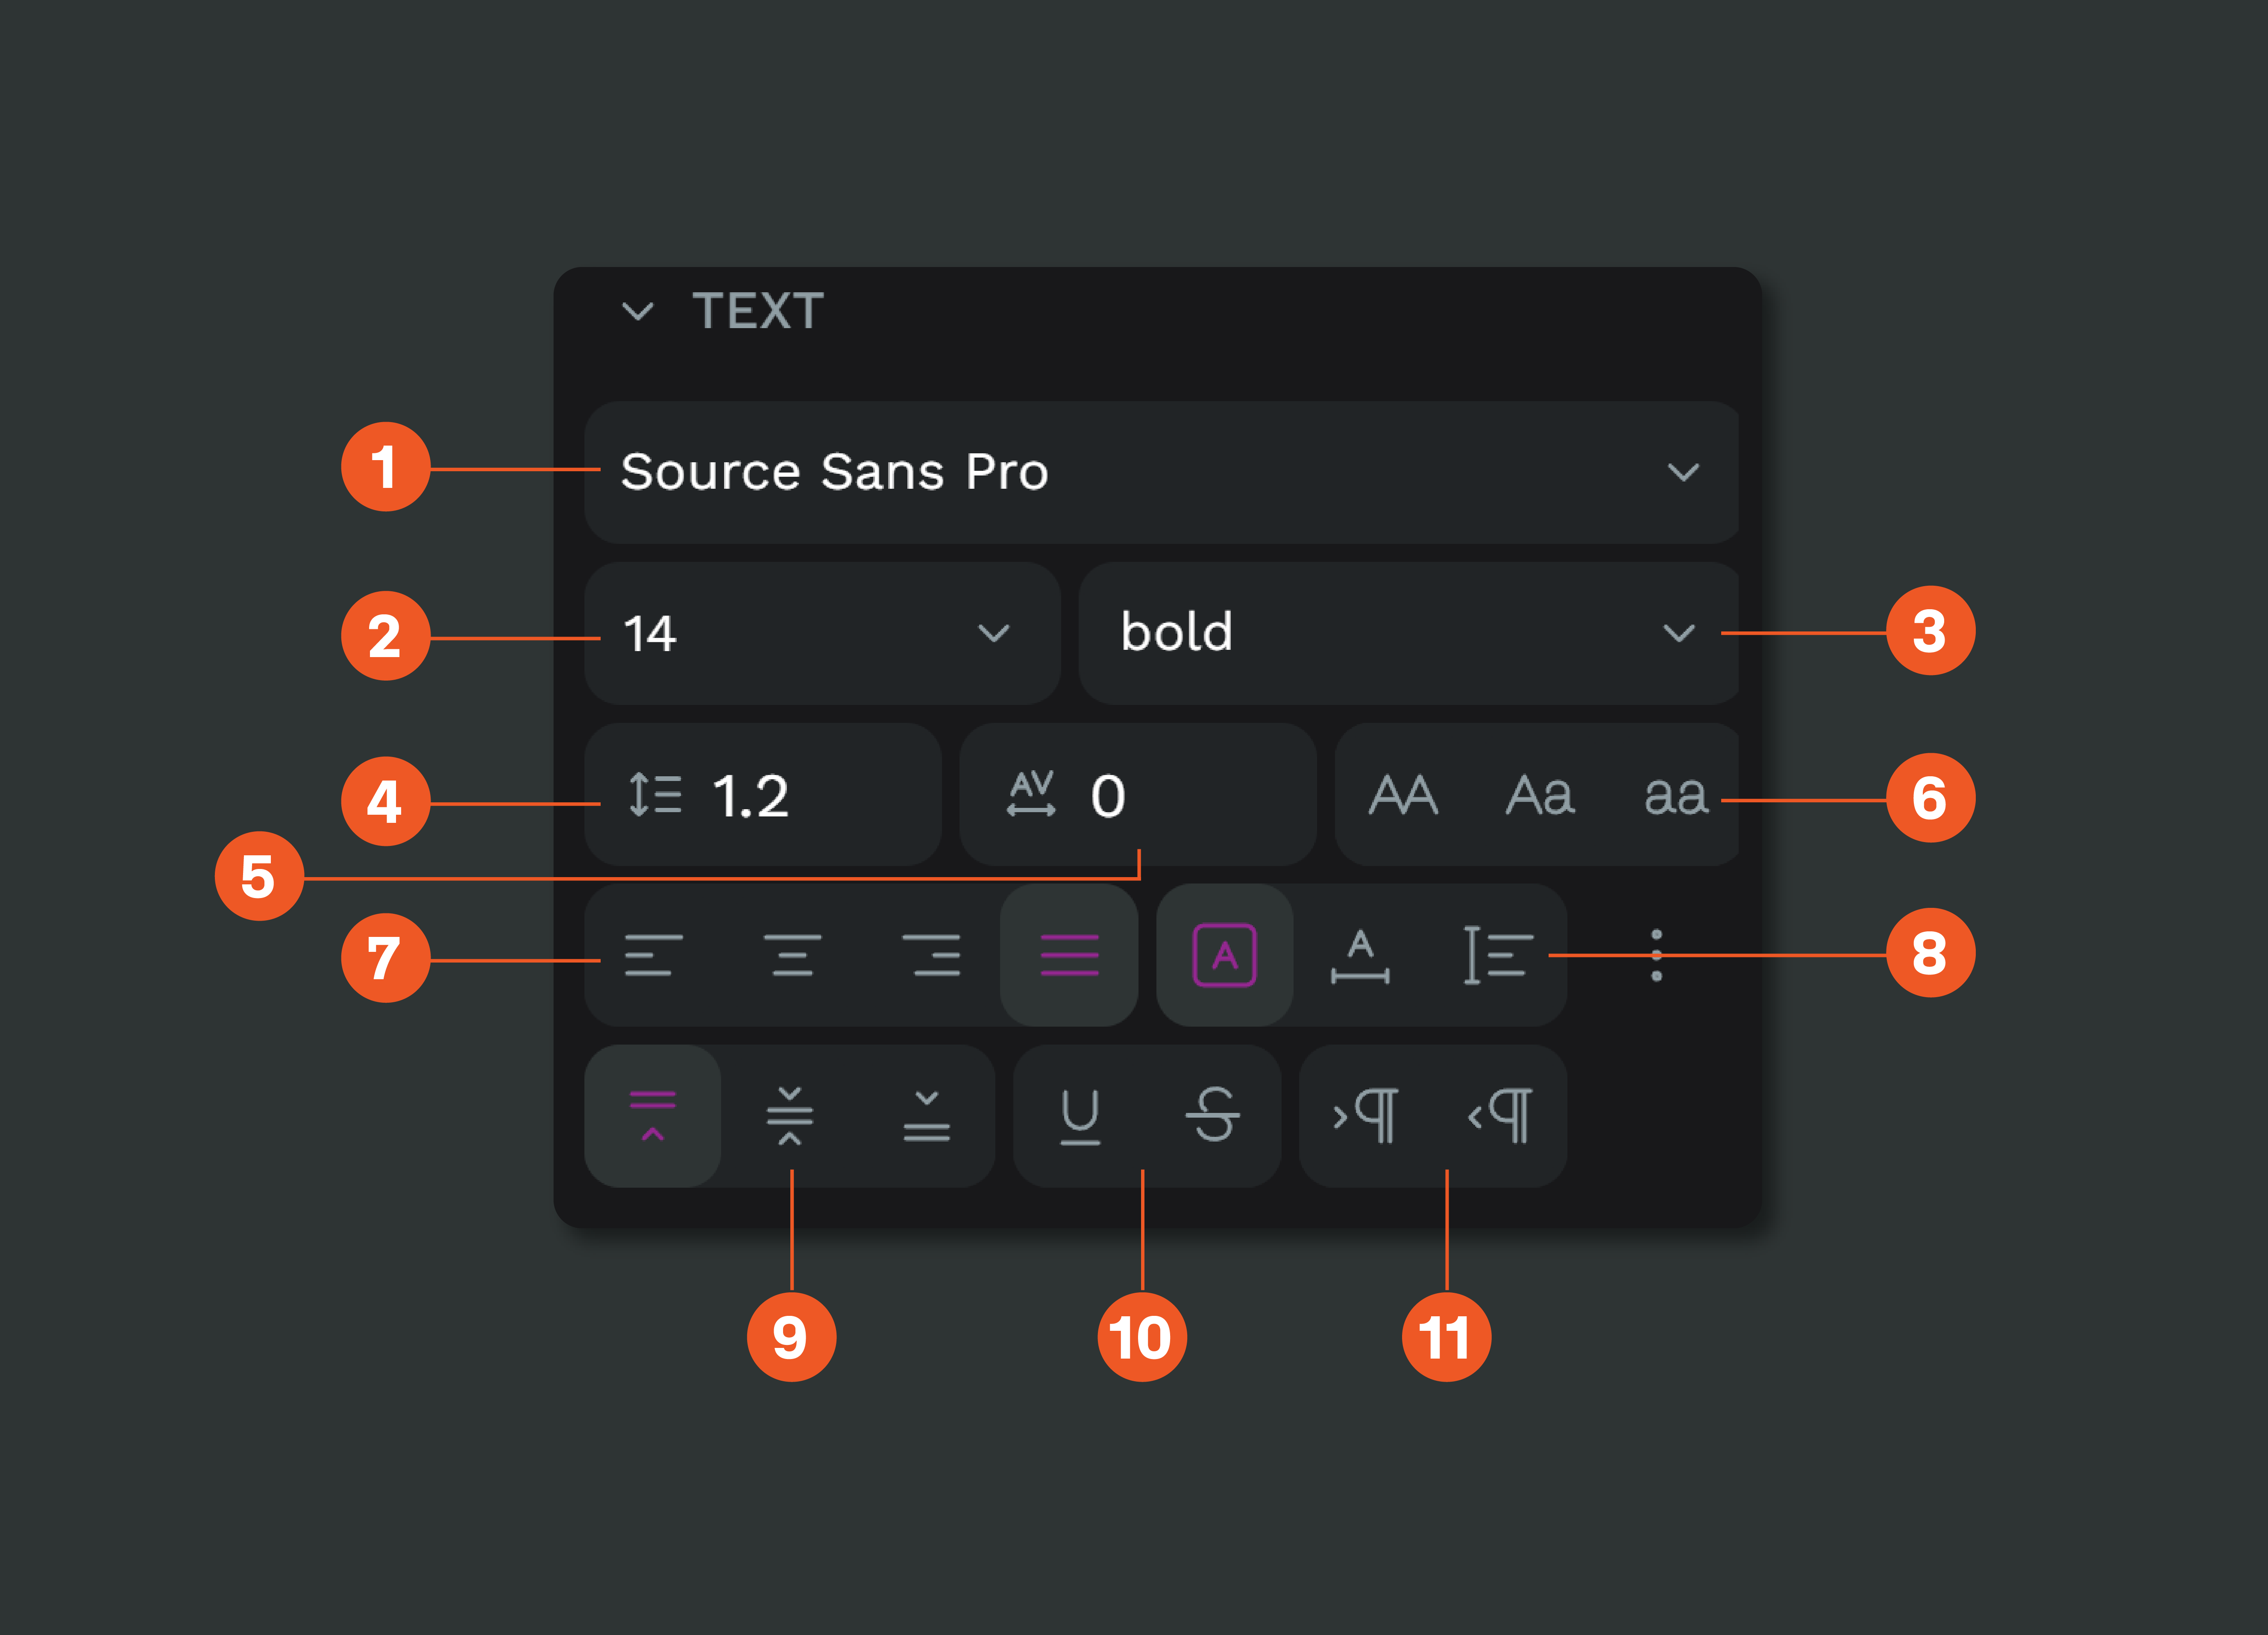
- Font family. bildigo includes by default the Google Fonts cataloge. You can also install your own fonts.
- Font size.
- Font type.
- Line height (in pixels).
- Letter spacing (in pixels).
- Text case: none, uppercase, lowercase, titlecase.
- Horizontal alignment: left, center, right, justify.
- Sizing: auto height, auto width, fixed size.
- Vertical alignment: top, center, bottom.
- Decoration: none, underline, strikethrough.
- Direction: LTR (left to right), RTL (right to left).
Curves (freehand)
The curve tool allows a path to be created directly in a freehand mode. Select the curve tool by clicking on the icon at the toolbar or pressing Ctrl/⌘ + c.
The path created will contain a lot of points, but it is edited the same way as any other curve.
Paths (bezier)
A path is composed of two or more nodes and the line segments between them, which may also be curved. To draw a new path you have to select the path tool by clicking on the icon at the toolbar or pressing P. Then you have two ways to create the path:
- Click to create a new corner node.
- Click and drag to create a curved node.
To finish the path:
- Close it clicking over the starting node.
- Leave it open pressing Esc or Enter to stop editing. Then press Esc to exit the edit mode.
Tip: If you hold Shift/⇧ while adding nodes the angle between the current and the next will change in 45 degree increments.
Edit nodes
To edit a node double click on a path or select and press Enter. You can choose to edit individual nodes or create new ones. Press Esc to exit node edition.
Node types
There are two types of nodes: curve or corner (straight). The type of a selected node can be changed at the bezier menu. Curved nodes have bezier handles that allow the curvature of a path to be modified.
Images
Insert images
There are several options for inserting an image into a bildigo file:
- Use the image tool at the toolbar or press K to inspect images in your file system.
- Drag an image from your computer to the viewport.
- Copy an image & paste it or drag it right from a browser.
- Drag an image from a bildigo library.
Images aspect ratio
Images fill the layer backgrounds by default, so they take up the entire object while maintaining the aspect ratio. This is great for flexible designs because the images can adapt to different sizes.
However, if you don't want an image to keep its aspect ratio when resizing, you just have to uncheck the option in the image settings.